Prima IP
Artwork guidelines for print
To speed up and, above all, simplify the preparation of your print files, we have put together a few guidelines. By following them, you will ensure higher quality and production within the agreed time.
Preparation guidelines
Eight steps to check before you send us your file.
- 1
Image format
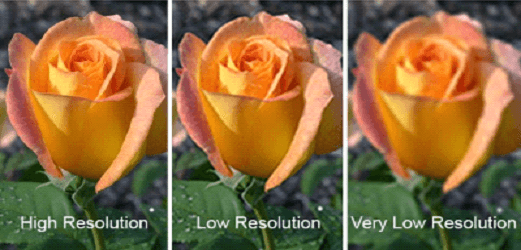
There are two types of graphic files: raster (bitmap) and vector graphics. Raster graphics are made up of small squares (pixels) that you can see when you zoom in on an image. The quality of these images depends on their resolution, which is expressed in DPI (dots per inch). If you enlarge an image you want to print, the pixels also become larger, which makes the image look ‘blocky’ unless it has a high resolution.
Raster graphics are often created in Adobe Photoshop and have the following extensions: JPEG, PNG, GIF and TIFF.
Vector graphics are, of course, better suited to print, as they do not lose quality when enlarged. Wherever possible, use vector graphics for logos and other design elements.

- 2
Bleed
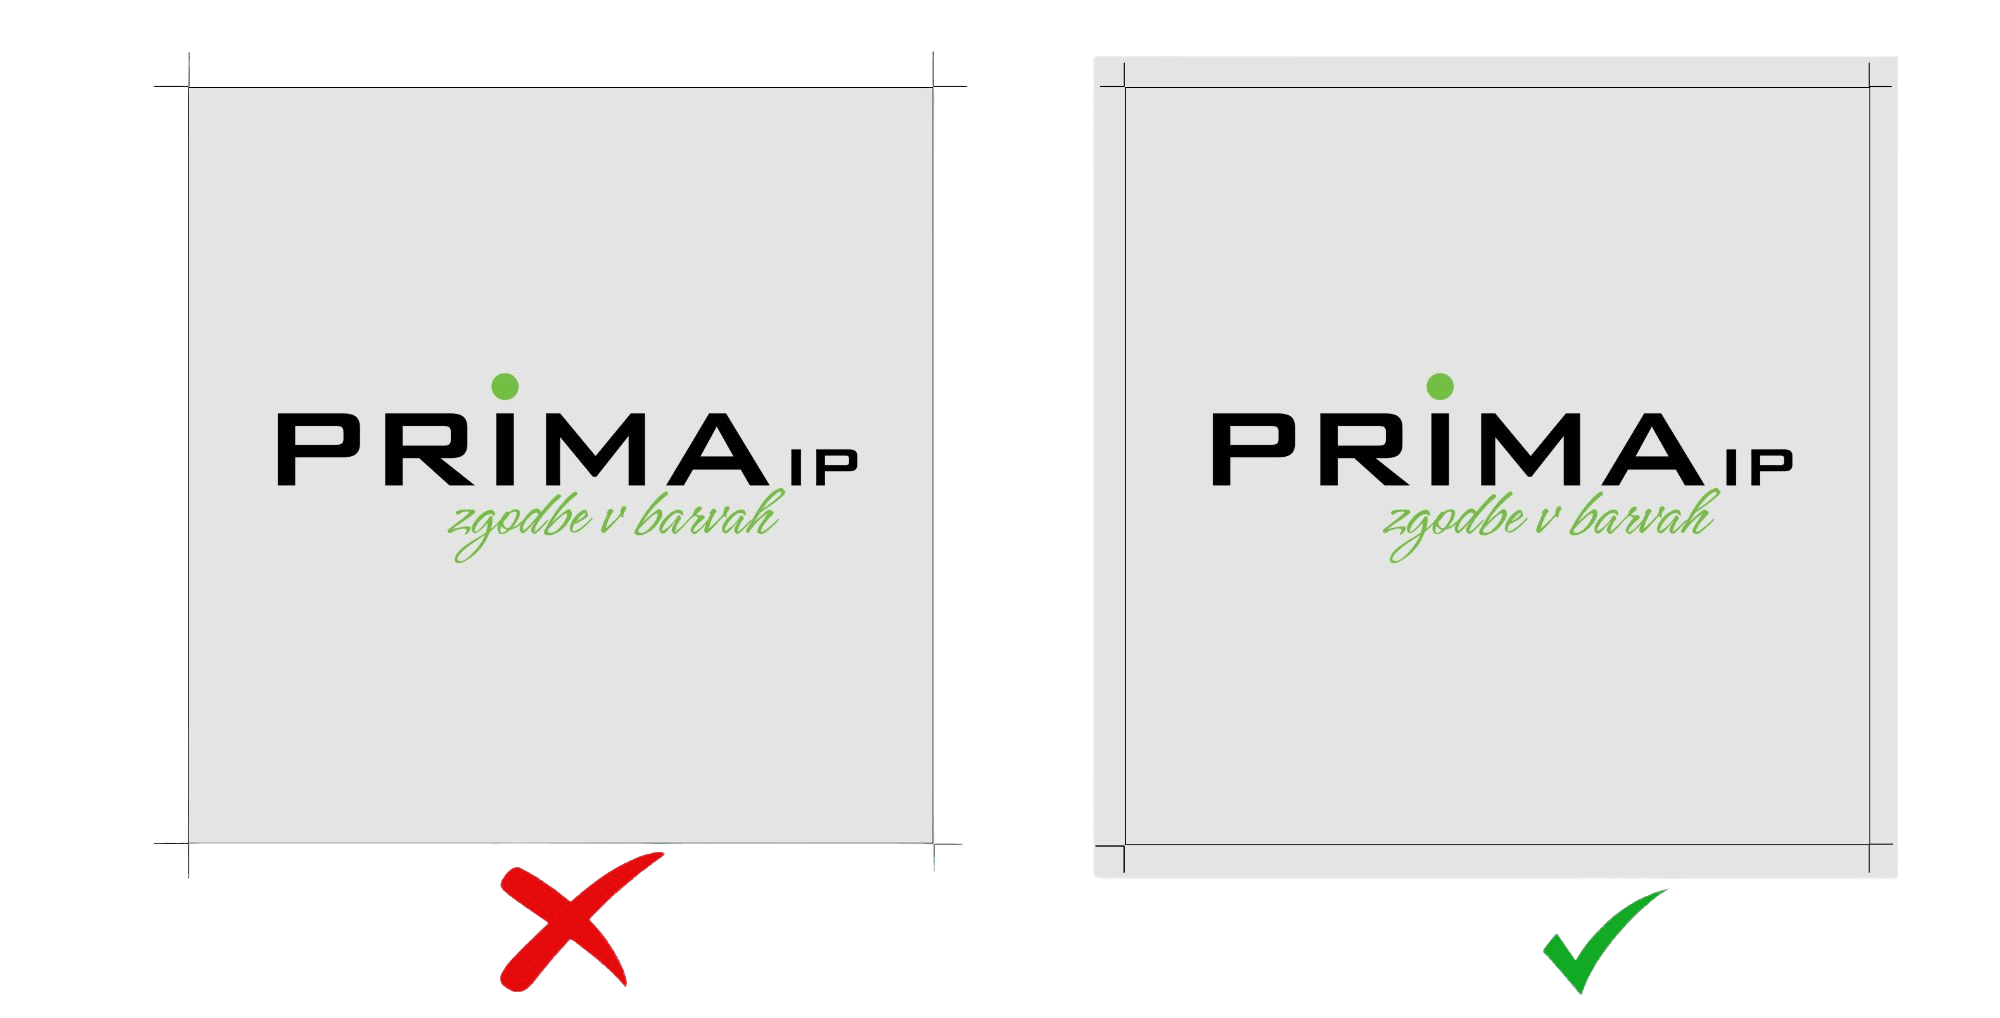
Add at least 3 mm of bleed around the whole file to avoid white edges after trimming.
- 3
Colour profile
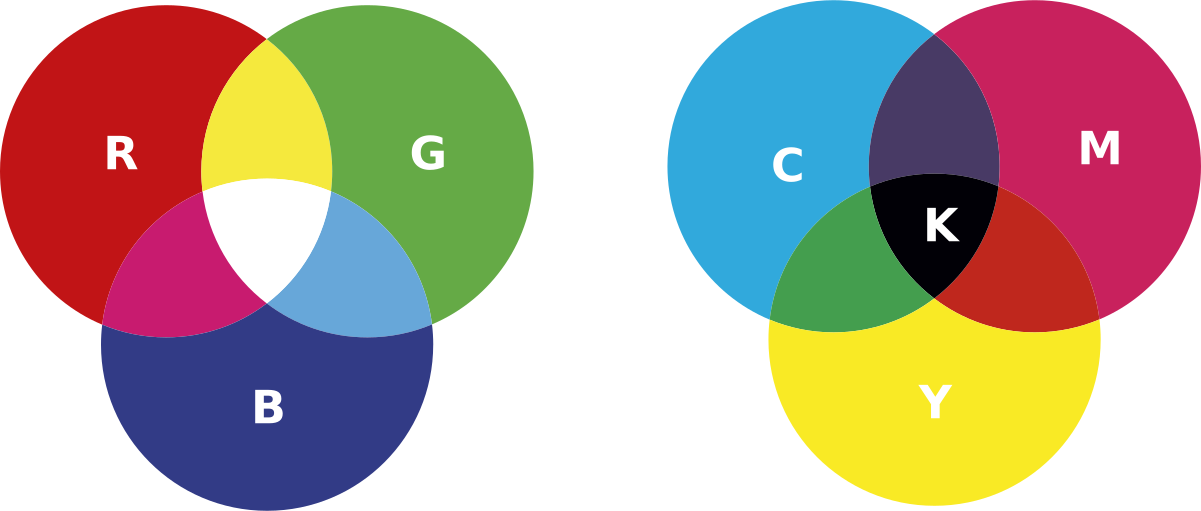
Use the CMYK colour profile or the Pantone colour system, which is the standard for printing and ensures correct colours on the final product. Printers work in CMYK, and files are converted automatically.
If the file is prepared in a different colour space, colour deviations are to be expected.
- 4
Placement of text elements
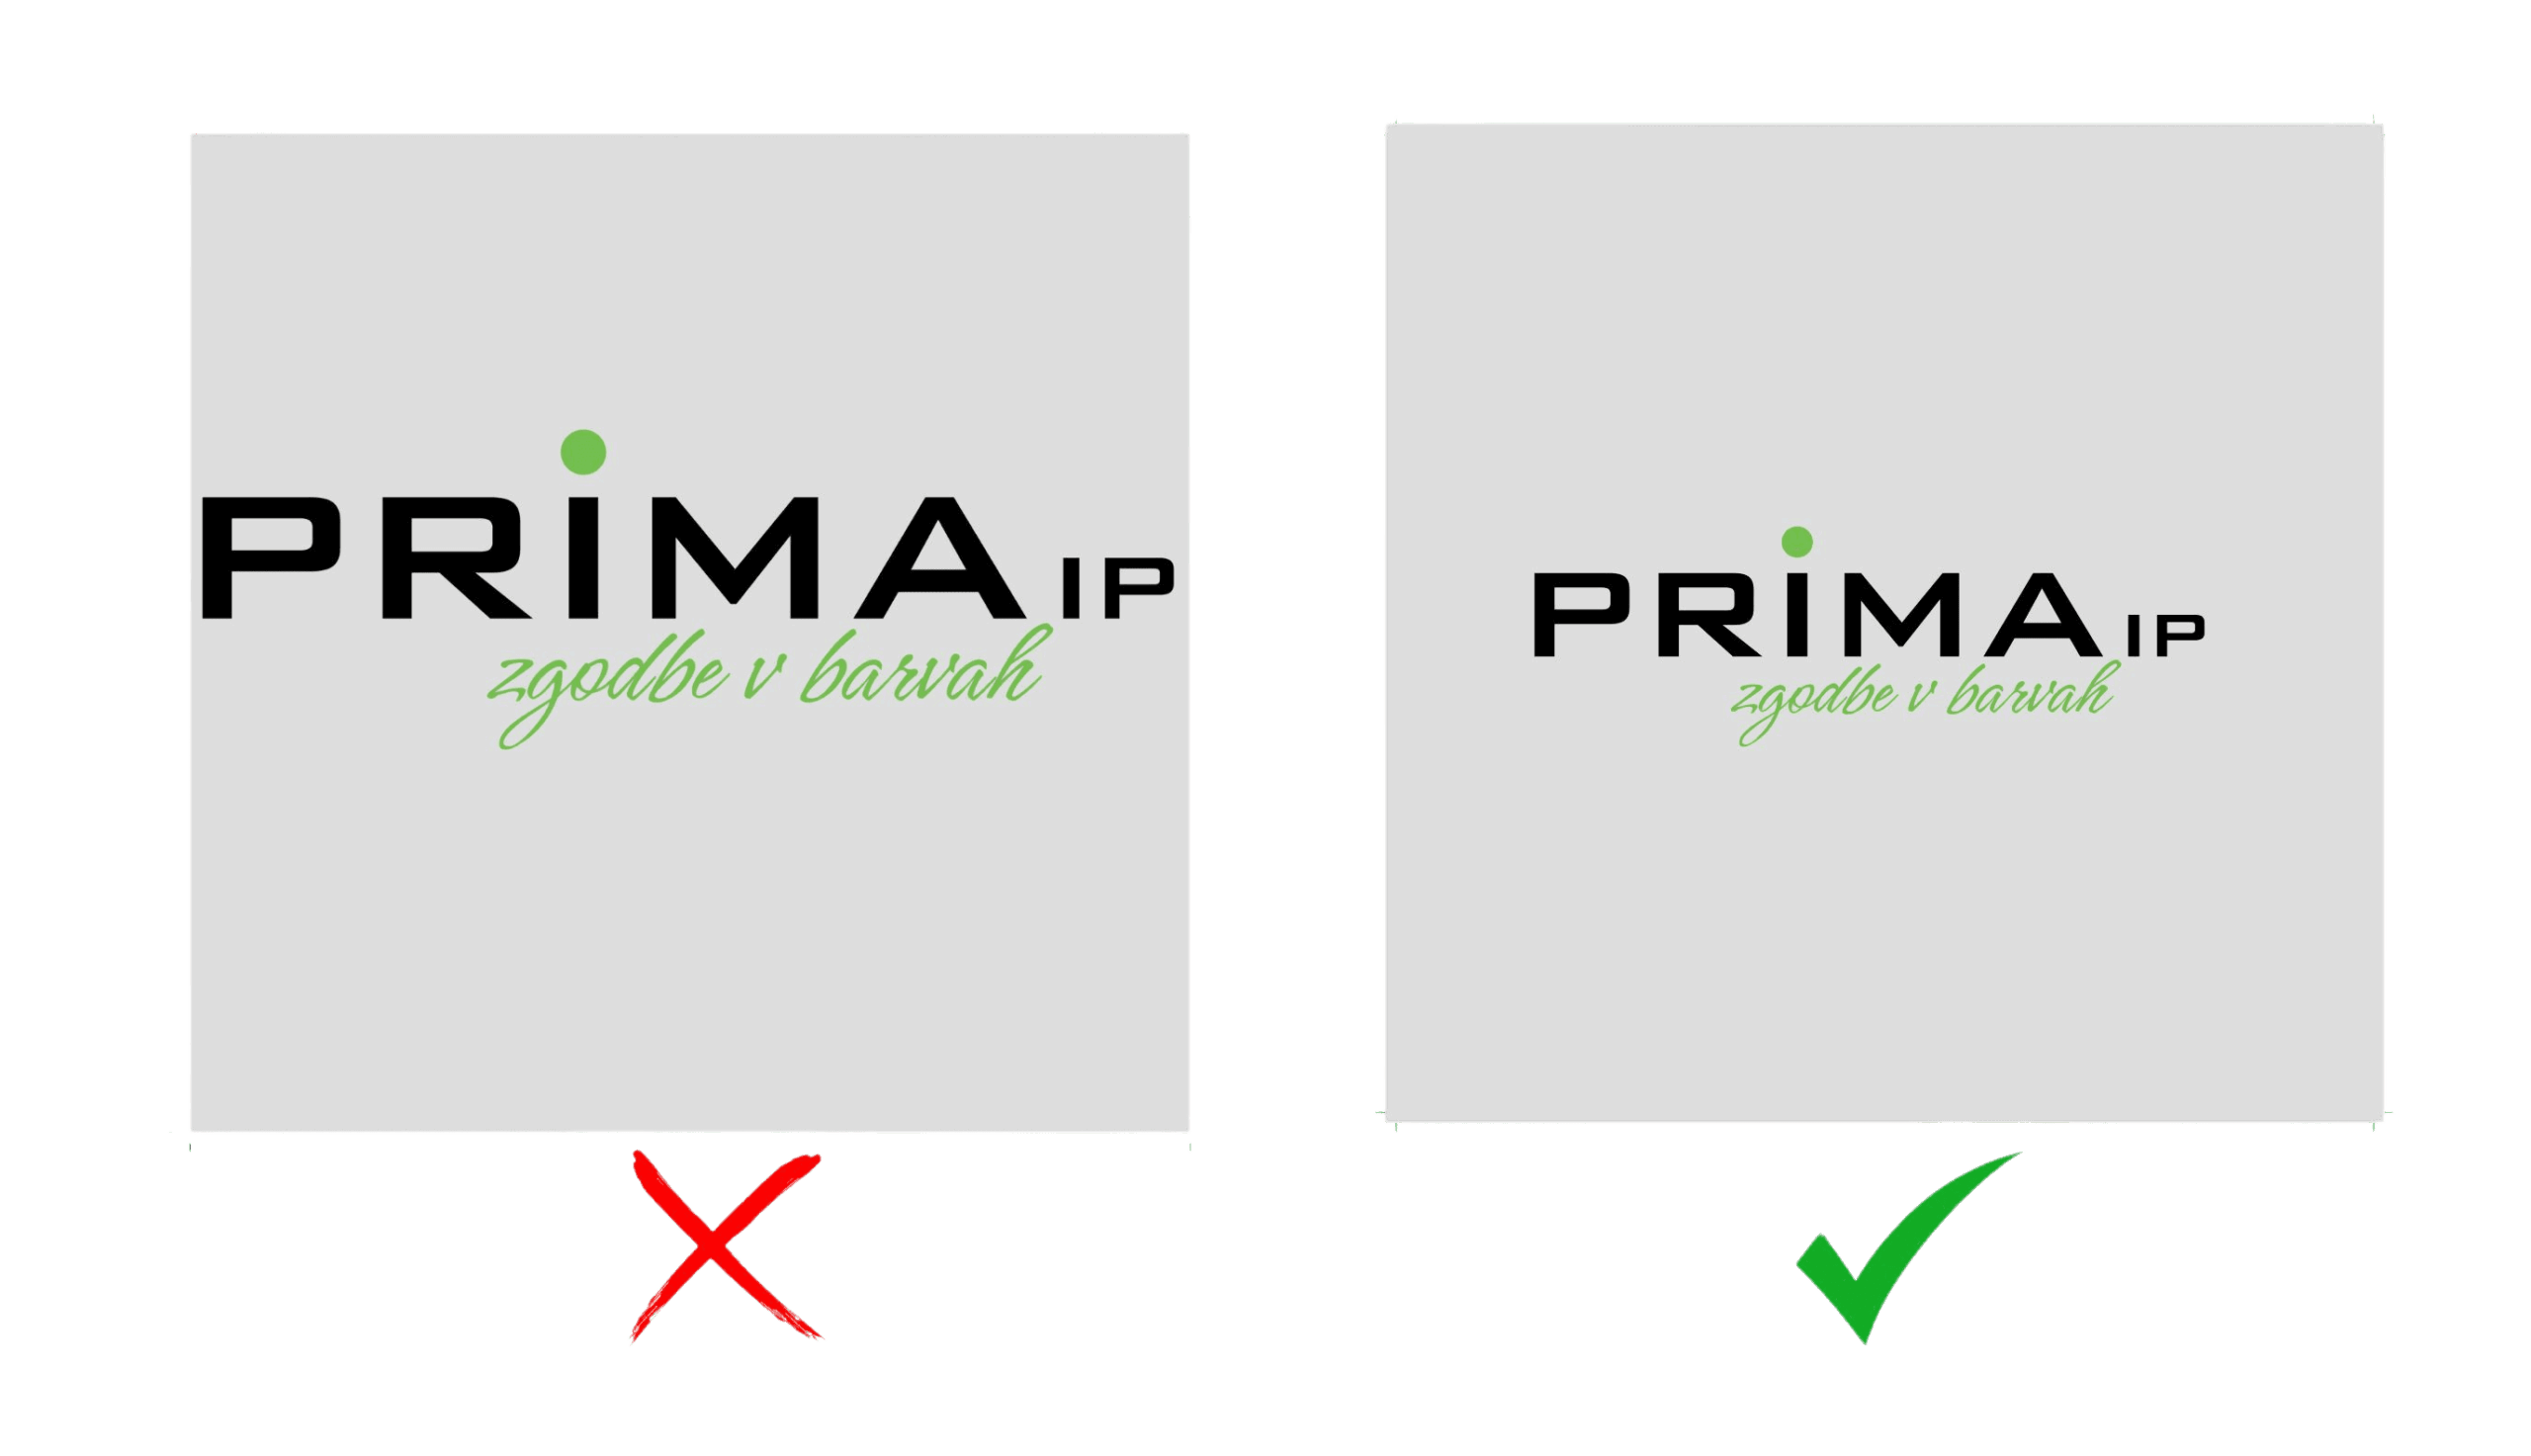
Place all important elements (text, logos) at least 5 mm from the edge to prevent them from being trimmed off.
- 5
File format
Save print-ready files in PDF format, which is the most reliable for printing. In addition to the PDF, attach a JPG file, which will serve as a reference and confirm that no errors occurred during printing.
Prepare files for small-format printed materials at 1:1 scale, and files for large-format printed materials at 1:10 scale.
Suitable file type for printSuitable file type for preview - 6
Checking the file before printing
Check the whole file and save it as a low-resolution JPG. Attach this JPG to the print file so that we can see the compressed image that will be printed.
- 7
Which programs should you use to prepare print files?
Prepare print files in graphic design programs such as CorelDRAW, Illustrator or InDesign. You can also prepare files in Canva, but please contact us for instructions.

- 8
Image resolution
Resolution is measured in DPI, which means the number of dots per inch (1 inch = 2.54 cm). On the web, images usually have a resolution of 72 DPI, meaning the image is made up of 72 dots per 2.54 cm. This resolution is suitable for display on screens, but for print at least 300 DPI is recommended.
Need help preparing your files?
If you need help preparing your files, we are happy to assist. We offer a graphic design service and can prepare your artwork from start to finish.
Write to us- Graphic design
- Expert advice
- Delivery throughout Slovenia